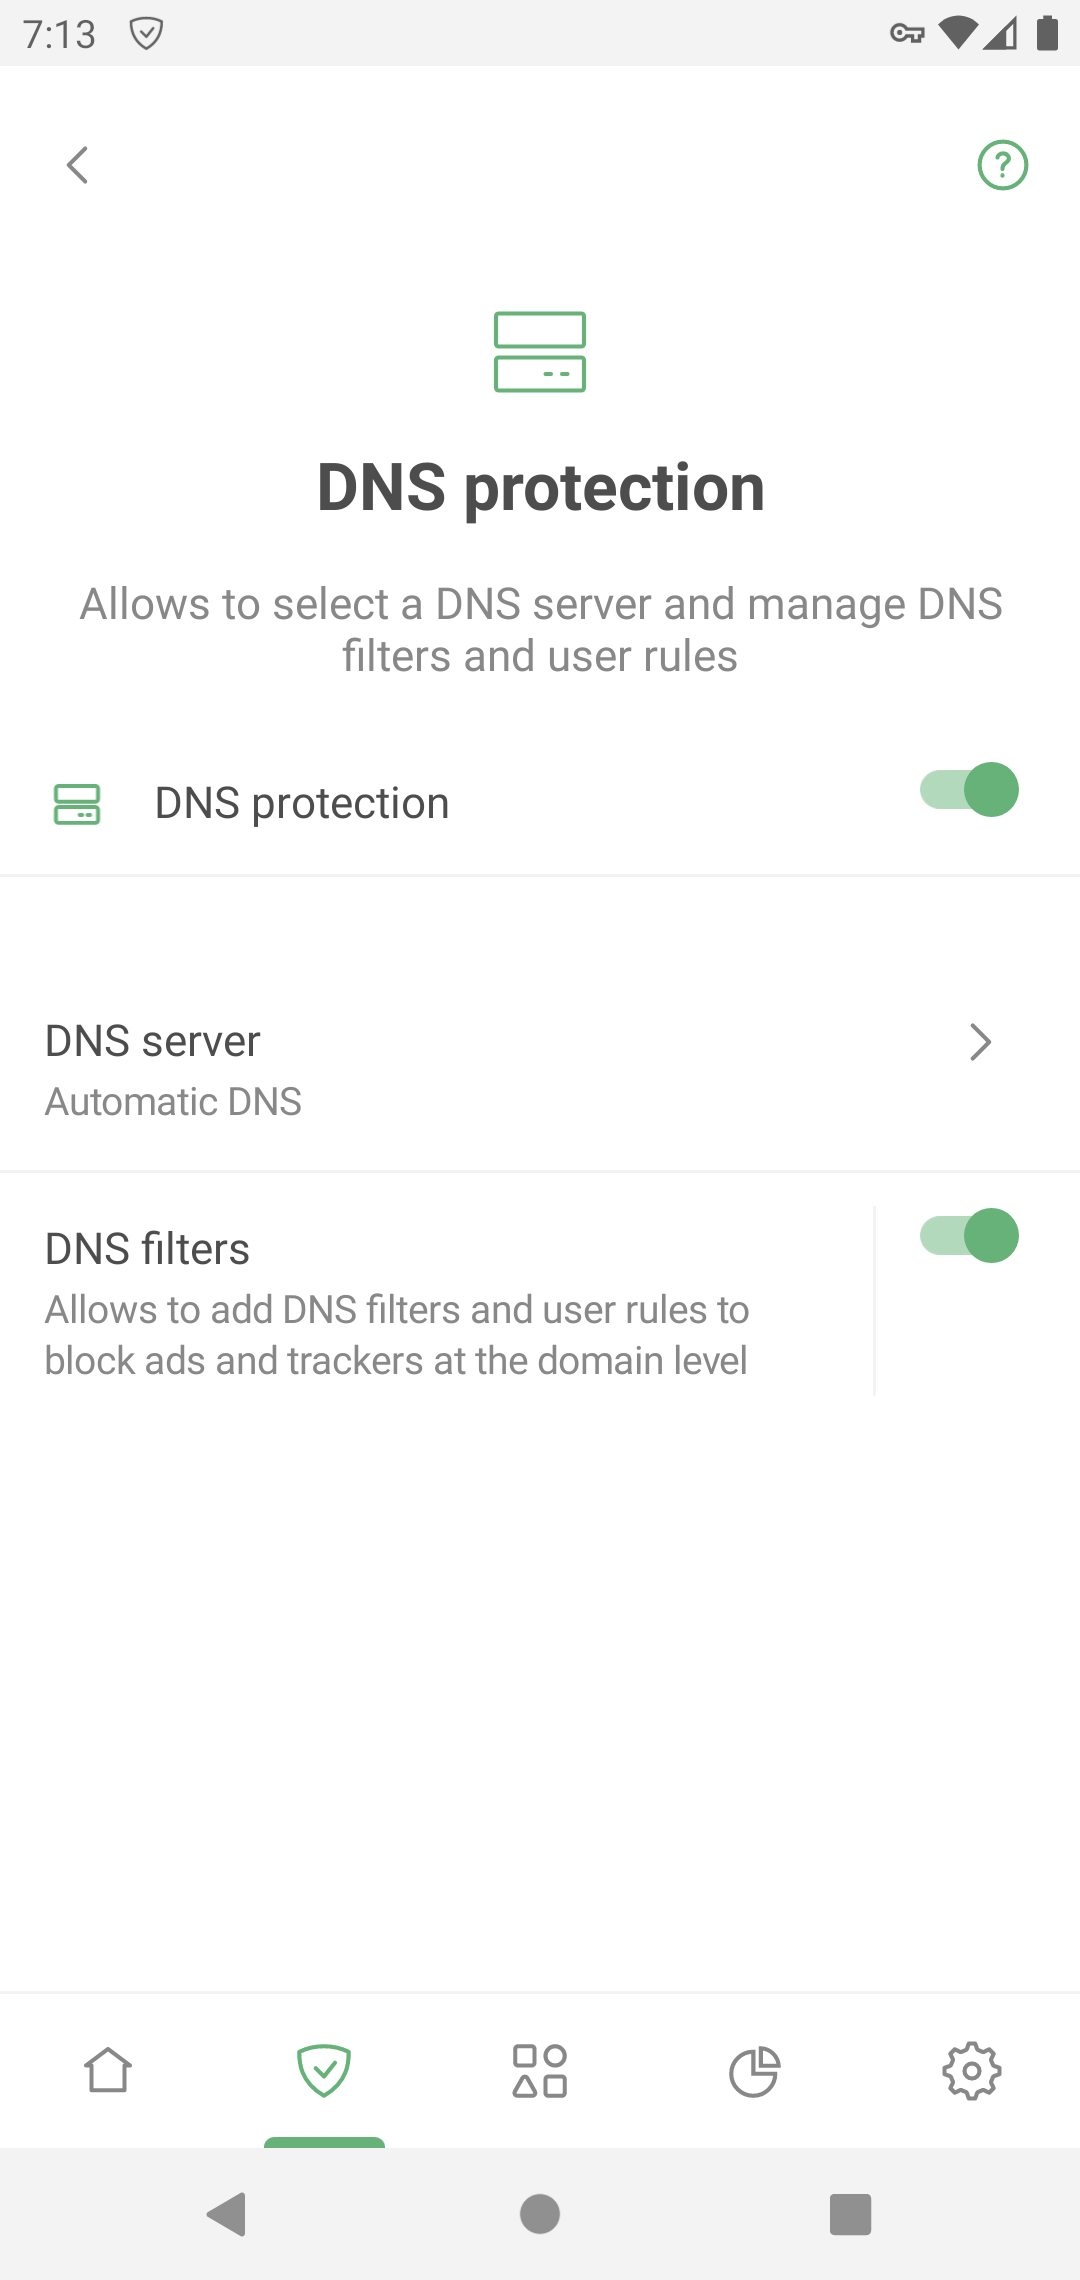
Protezione DNS
Questo articolo riguarda AdGuard per Android, un blocca-inserzioni multifunzionale che protegge il tuo dispositivo a livello di sistema. Per vedere come funziona, scarica l'app di AdGuard
Il modulo di protezione DNS può essere aperto toccando la scheda Protezione (seconda icona a sinistra nella parte inferiore dello schermo) e poi selezionando Protezione DNS.
La protezione DNS funziona in modo diverso rispetto al blocco normale delle inserzioni e dei tracciatori. Puoi scoprire di più su di esso e su come funziona in un articolo dedicato
*La Protezione DNS ti consente di filtrare le richieste DNS con l'aiuto di un dato server DNS, filtri DNS e regole dell'utente:
Alcuni server DNS prevedono delle liste di blocco, che aiutano a bloccare le richieste DNS ai domini potenzialmente dannosi
Oltre ai server DNS, AdGuard può filtrare le richieste DNS per conto proprio, utilizzando un filtro DNS speciale. Contiene un grande elenco di domini pubblicitari e di tracciamento: le richieste a essi sono reindirizzate a un server blackhole
Inoltre, puoi bloccare e sbloccare i domini, creando delle regole dell'utente. Potresti dover consultare il nostro articolo sulla sintassi delle regole di filtraggio DNS

Server DNS
In questa sezione, puoi selezionare un server DNS per risolvere le richieste DNS, bloccare annunci e tracciatori e crittografare il traffico DNS. Tocca un server per leggerne la descrizione completa e selezionare un protocollo. Se non hai trovato il server desiderato, puoi aggiungerlo manualmente:
Tocca Aggiungi server DNS e inserisci l'indirizzo (o gli indirizzi) del server
In alternativa, puoi selezionare un server DNS dall'elenco di fornitori DNS noti e toccare Aggiungi ad AdGuard accanto ad esso
Se stai usando un server privato di AdGuard DNS, puoi aggiungerlo ad AdGuard dal cruscotto
Per impostazione predefinita, è selezionato DNS automatico. Imposta un server DNS secondo le tue impostazioni di AdGuard e del dispositivo. Se hai abilitato l'integrazione con AdGuard VPN o con un altro proxy SOCKS5, si connette al AdGuard DNS non filtrante o a qualsiasi altro server tu specifichi. In tutti gli altri casi, si connette al server DNS selezionato nelle impostazioni del tuo dispositivo.
Filtri DNS
Questa sezione ti consente di aggiungere filtri DNS personalizzati e regole di filtraggio DNS. Puoi trovare altri filtri su filterlists.com.