In these days of cancel culture, it might be easier to cancel Joan Rowling than to cancel a subscription to a video service that streams Harry Potter.
Apple is praised for its outstanding design of apps and devices. User-friendly and intuitive. Such an important function as canceling a paid subscription must be as intuitive and user-friendly as possible. Not less than the function of subscribing, actually.
As obvious as it seems, however, the amount of search queries to Google about canceling subscriptions on Apple devices
keeps relatively high. People keep asking “how to cancel subscriptions on iphone” or “how to delete Apple subscription” several hundreds of thousands times a month.
As Apple itself also has subscription-based paid services, the company is not highly motivated to help people release themselves from the traps of recurrent payments. Use our instructions to review your subscriptions and remove the ones you no longer need. Even if you are not currently subscribed to any paid content, services, or apps, get yourself acquainted with subscription management controls beforehand and be protected from losing money.
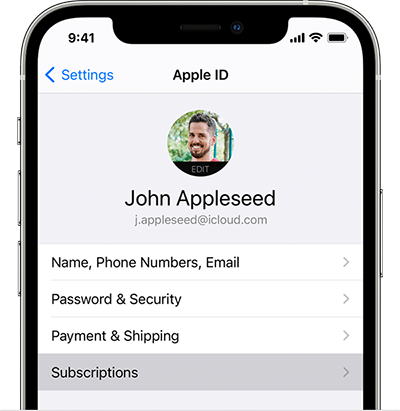
How to remove subscriptions on an iPhone, iPad or iPod touch
1) Open “Settings”;
2) Tap on your name;
3) Choose the “Subscriptions” section;
4) Review your subscriptions and choose the one you want to change;
5) Tap “Cancel Subscription”. If a subscription does not have a “Cancel” option, it has been cancelled already.
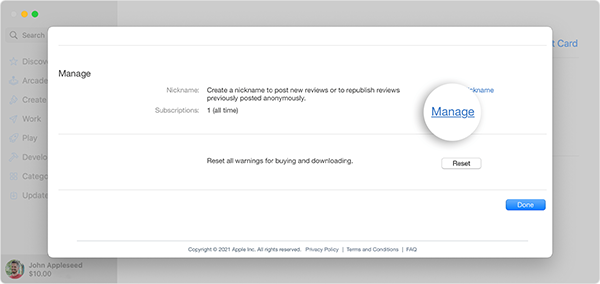
How to cancel subscriptions on a Mac
1) Open the App Store;
2) If you are not signed in, click the sign-in button and use your Apple ID login and password to sign in;
3) Click “View Information” link at the top right corner of the window;
4) Scroll down to the “Manage” section;
5) Click “Edit” next to the subscription you want to change;
6) Choose “Cancel Subscription”;
7) If you don’t see the option to cancel the subscription, it has already been cancelled.
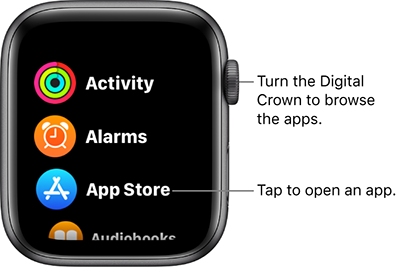
How to stop subscriptions on an Apple Watch
1) Open the App Store;
2) Tap “Account”, then “Subscriptions”;
3) Choose the subscription you want to change;
4) Choose “Cancel Subscription”;
5) If you don’t see the option to cancel the subscription, it has already been cancelled.
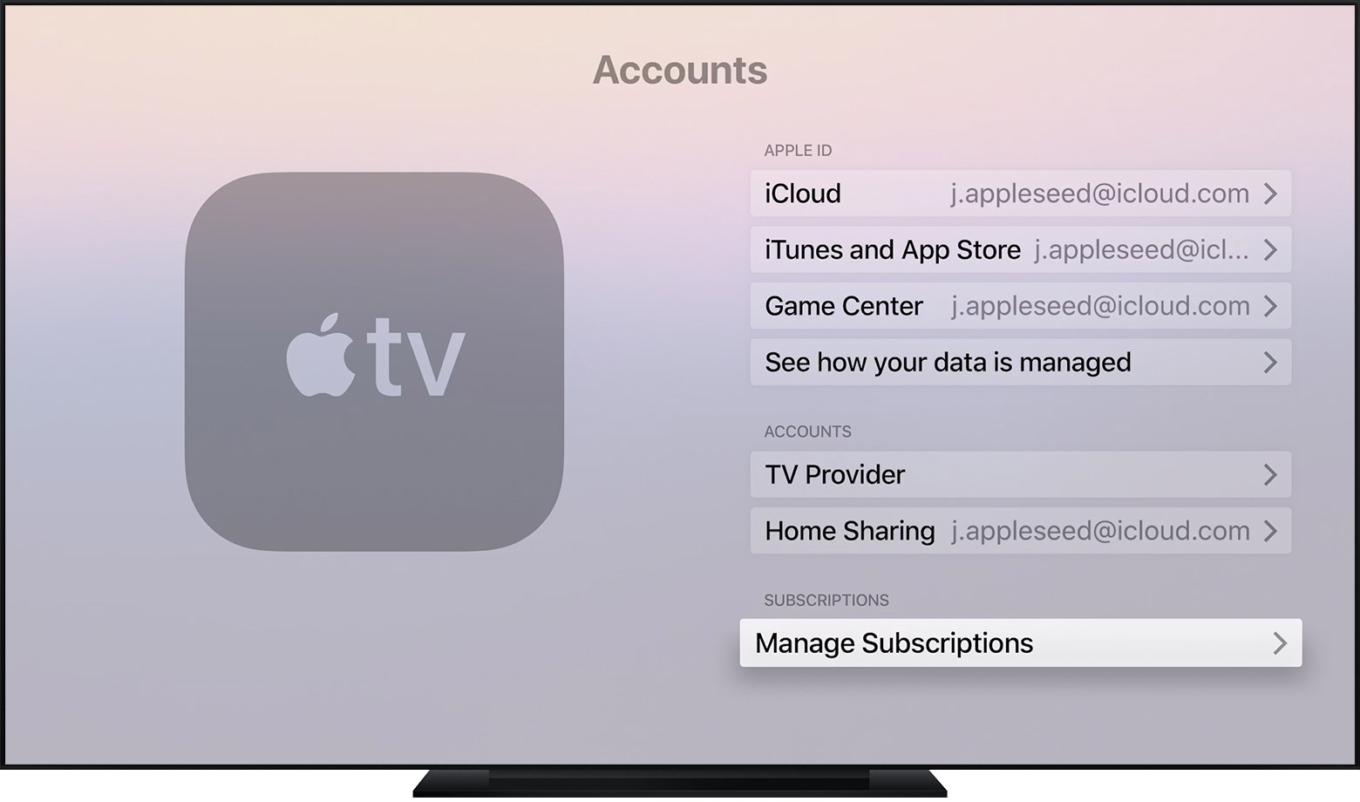
How to cancel subscriptions on an Apple TV
You can only edit subscriptions for tvOS apps that are installed on your Apple TV.
1) Open “Settings”;
2) Select your account in the “Users & Accounts” section;
3) Open “Subscriptions”;
4) Choose the subscription that you want to manage and cancel it;
5) If you don’t see the option to cancel the subscription, it has already been cancelled.
You can also use a Windows PC to cancel iTunes and iCloud storage subscriptions.
1) Download iCloud for Windows, in the “Storage” menu click “Change Storage Plan”and choose “Downgrade Options”. Enter your Apple ID password, then click “Manage” and choose a free plan. “Click Done”.
2) Install iTunes for Windows. From the menu bar at the top of the iTunes window, choose “Account”, then “View My Account”. Sign in with your Apple ID. In the “Settings” section find “Subscriptions”, click “Manage” and “Edit” next to the subscription you want.
Apple recommends to cancel a free or discounted trial subscription at least 24 hours before the trial ends if you do not plan to renew and keep it.
But the challenging part of the subscription managing quest is not digging in the settings in order to find the “Cancel” button. Even people who know all about subscription controls and have experience using them sometimes lose money paying for subscriptions they no longer need or want. Some of them forget to cancel a free trial subscription. Others miss payment notifications. Yet others start the process but procrastinate away in the middle of it.
People have all sorts of trouble trying to get rid of a subscription.
As more and more companies offer various options of subscriptions to their goods and services, more and more people use various tools of subscription management. Apps and reminders are obvious. Prepaid virtual cards are less evident. But it actually is a handy instrument, especially when it comes to subscriptions you do not plan to keep and renew, and to payments you want to make just once. You can get a single-use card and top it up with a sum for a single payment. One of the other options is a merchant-specific virtual card.
Of course, you can always request a refund for an unwanted subscription renewal, and a lot of companies would give it. But it would (or would not) be a gesture of their goodwill, not an obligation.
There is a guide on refunds for apps or content that you bought from Apple in the “Support” section of Apple’s website.

